
Recommended Default Groups
Setting up default groups during initial configuration saves time and ensures consistent access patterns. Suggested Partner Groups| Group Name | Description | Suggested Workspace Role |
|---|---|---|
| SOC Tier 1 | Front-line analysts handling initial triage | Incident Analyst |
| SOC Tier 2 | Senior analysts with response capabilities | Incident Responder |
| SOC Managers | Team leads overseeing operations | Admin |
| Integration Engineers | Technical staff managing connectors | Data Source Admin |
| Account Managers | Customer relationship managers | Incident Analyst (read-only) |
For Azure Administrators
For MSP/MSSP teams already fluent in Azure and Entra administration, ContraForce’s user and group management model will feel intuitive once you establish these mental mappings:The key transferable skill is thinking hierarchically about access scope—a discipline your team has already developed managing Azure governance at scale.
- Organization = Root Management Group: The top-level scope where you establish identities that can flow down
- Workspace = Subscription / Administrative Unit: The isolation boundary where customer-specific access lives
- Organization Groups = Inherited RBAC: Create once, assign many times, automatic access when group membership changes
- Workspace Users = AU-scoped delegation: Strictly bounded to one customer’s data
- Two locations = Two scopes: Just like Azure has IAM blades at different levels, ContraForce has Organization Settings and Workspace Settings
Understanding the Two-Tier Model
ContraForce uses a two-tier user management model that separates partner-level access from customer-level access. This is the most important concept to understand before configuring users and groups.Parent (Partner) Level
Child (Customer) Level
How the Tiers Work Together
The Two Places for User & Group Management
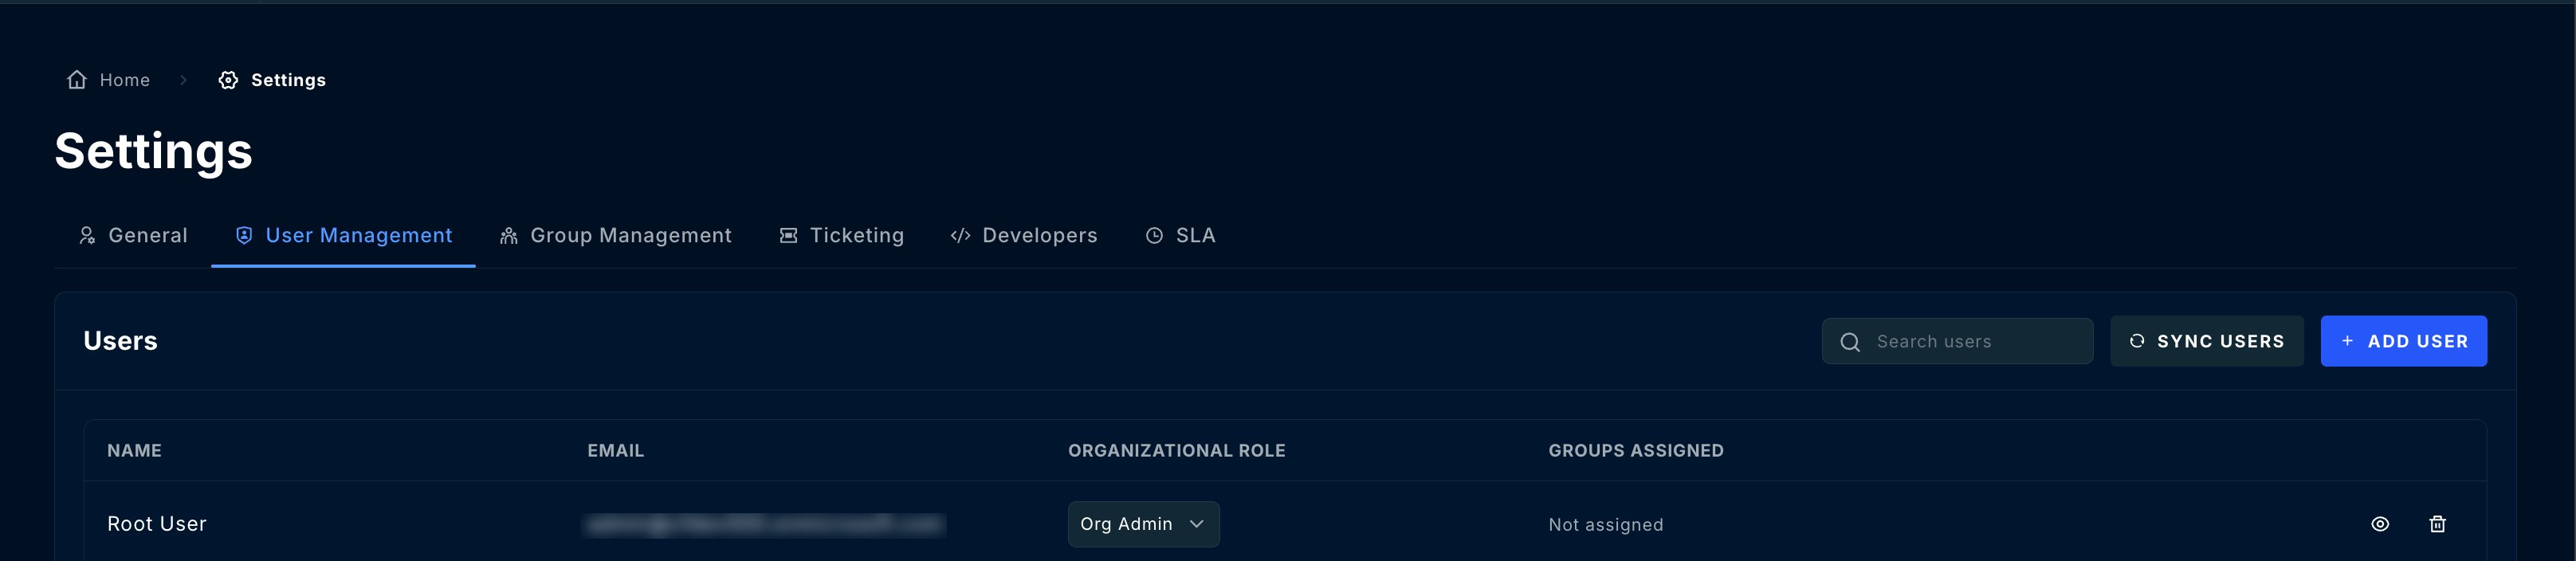
One of the most common points of confusion is that there are two different locations to manage users and groups, each serving a different purpose.Location 1: Organization Settings (Partner Level)
Path: Settings → User Management This is where you manage users and groups for your partner organization:| What You Manage | Scope |
|---|---|
| Partner team members | Access to all workspaces |
| Partner user groups | Cross-workspace permissions |
| Organizational roles | Partner-level capabilities |
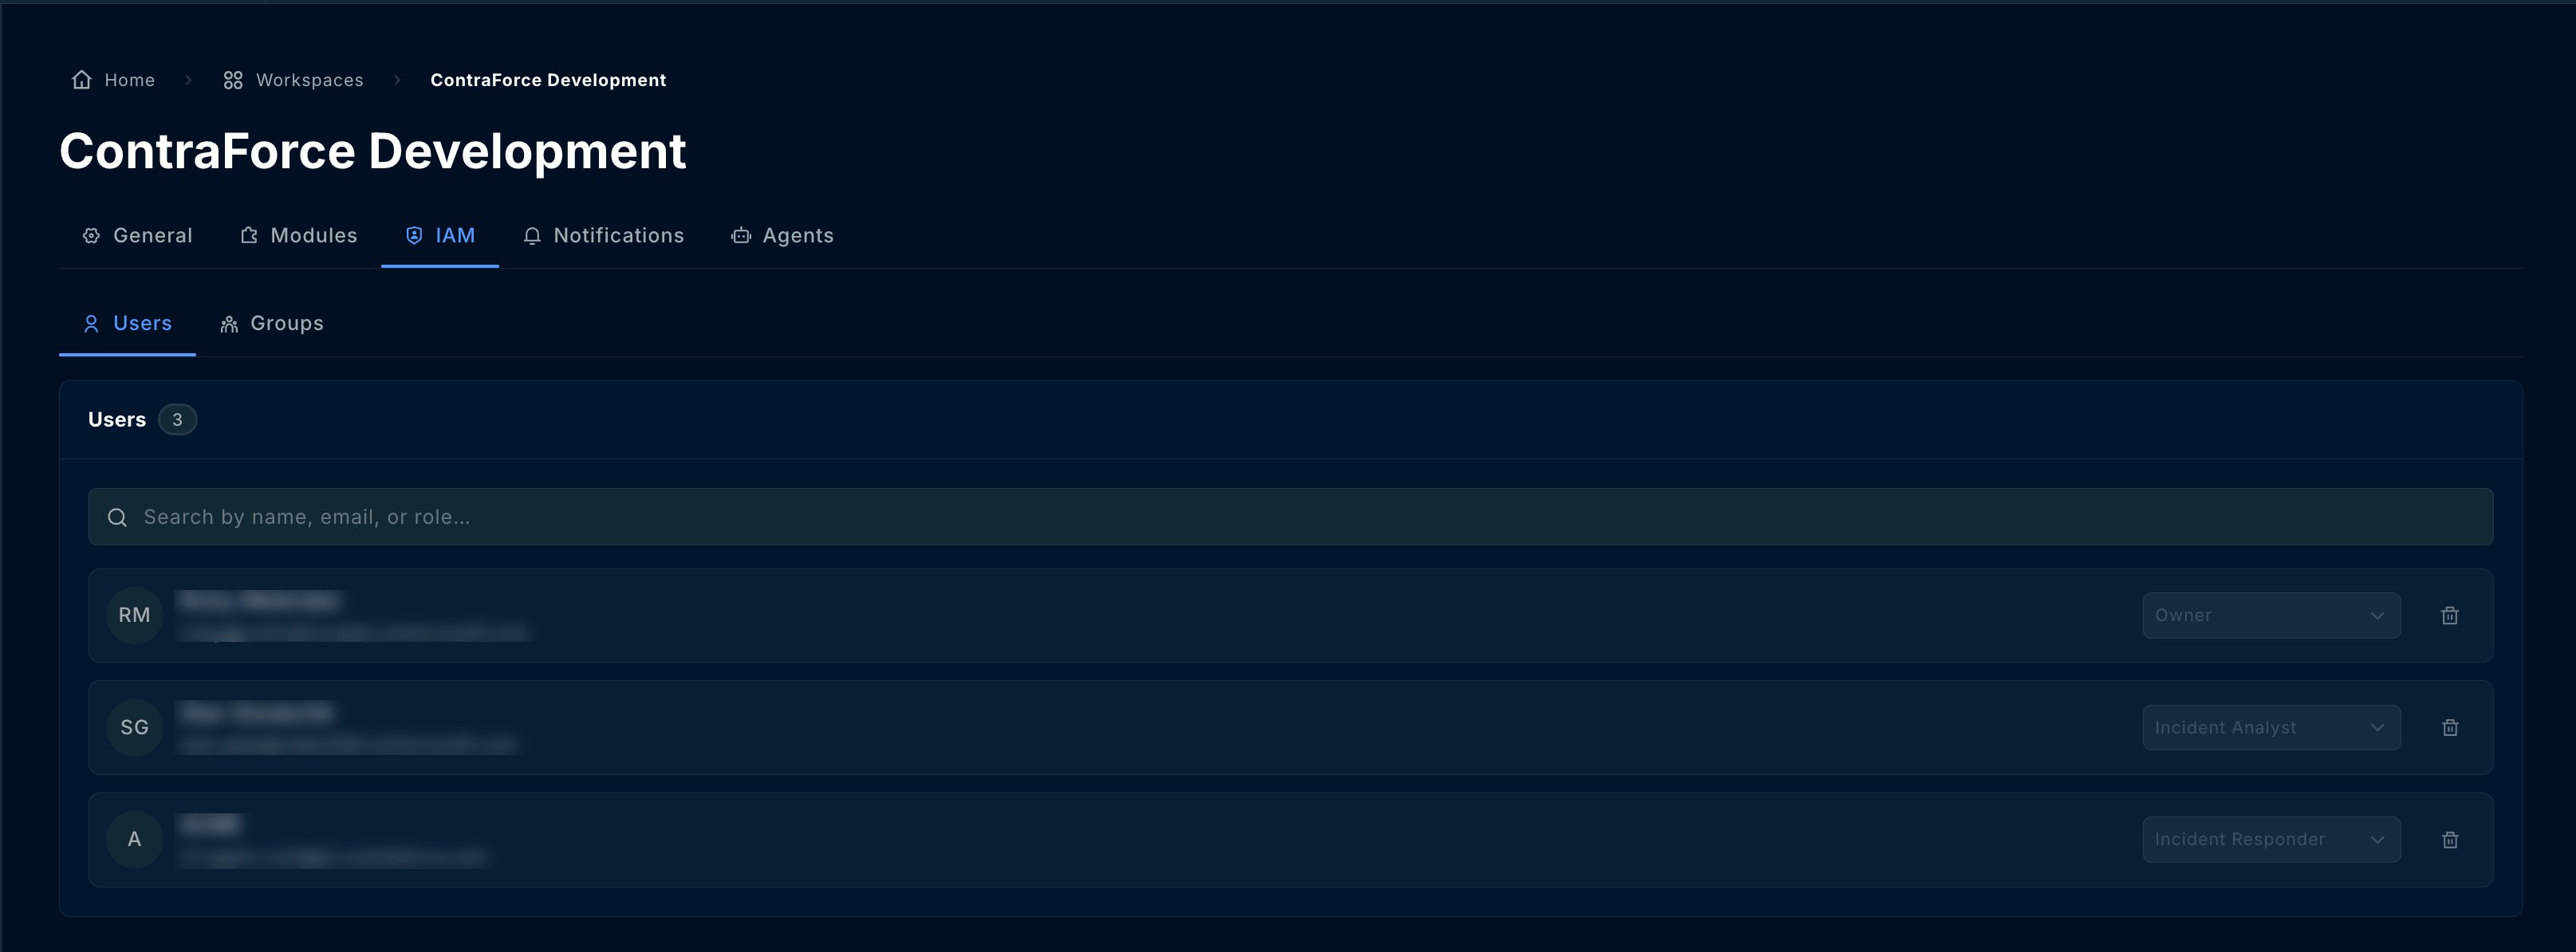
Location 2: Workspace Settings (Customer Level)
Path: Workspaces → [Select Customer] → IAM → Users & Groups This is where you manage users and groups for a specific customer workspace:| What You Manage | Scope |
|---|---|
| Customer users | This workspace only |
| Customer groups | This workspace only |
| Workspace-specific roles | This workspace only |
Quick Reference: Where to Go
| I Want To… | Go To |
|---|---|
| Add a partner analyst who needs access to multiple customers | Organization Settings |
| Create a group for your SOC team to access all workspaces | Organization Settings |
| Add a customer’s IT admin to view their own workspace | Workspace Settings |
| Create a customer-specific group | Workspace Settings |
| Manage your own organization’s users | Organization Settings |
| Grant a customer limited access to their incidents | Workspace Settings |
Parent vs Child: When to Use Each
Use Parent (Organization) Level When:
Adding your own team members (SOC analysts, engineers)
Adding your own team members (SOC analysts, engineers)
Creating groups for your internal teams
Creating groups for your internal teams
Setting up cross-workspace permissions
Setting up cross-workspace permissions
Use Child (Workspace) Level When:
Adding customer users who only access their own data
Adding customer users who only access their own data
Creating customer-specific groups
Creating customer-specific groups
Granting limited access to customer stakeholders
Granting limited access to customer stakeholders
Step-by-Step: Setting Up Partner Users
Adding a Partner Team Member
Assign Organizational Role
- Organization Admin — Full platform access
- Organization Member — Standard access
Assigning Users to Customer Workspaces
After creating a user at the organization level, grant them access to customer workspaces:Step-by-Step: Setting Up Groups
Groups simplify permission management by letting you assign roles to multiple users at once.Creating an Organization Group
Assigning a Group to Workspaces
Recommended Default Groups
Setting up default groups during initial configuration saves time and ensures consistent access patterns.Suggested Partner Groups
| Group Name | Description | Suggested Workspace Role |
|---|---|---|
| SOC Tier 1 | Front-line analysts handling initial triage | Incident Analyst |
| SOC Tier 2 | Senior analysts with response capabilities | Incident Responder |
| SOC Managers | Team leads overseeing operations | Admin |
| Integration Engineers | Technical staff managing connectors | Data Source Admin |
| Account Managers | Customer relationship managers | Incident Analyst (read-only) |
Setting Up Default Groups
Create Groups First
Common Permission Scenarios
Scenario 1: New SOC Analyst Joining Your Team
Goal: Add a new analyst who needs to handle incidents for all customers.Scenario 2: Customer Wants to View Their Incidents
Goal: Give a customer’s security team read-only access to their workspace.Scenario 3: Partner User Can’t Access a Workspace
Goal: Troubleshoot why a partner user can’t see a specific customer workspace.Check Workspace Assignment
Scenario 4: User Has Wrong Permissions
Goal: User can view incidents but can’t respond to them. Cause: User has “Incident Analyst” role instead of “Incident Responder.”Workspace Roles Reference
| Role | View Incidents | Respond to Incidents | Manage Gamebooks | Configure Modules | Manage Users |
|---|---|---|---|---|---|
| Admin | ✓ | ✓ | ✓ | ✓ | ✓ |
| Incident Responder | ✓ | ✓ | ✓ | — | — |
| Incident Analyst | ✓ | — | — | — | — |
| Data Source Admin | ✓ | — | — | ✓ | — |
| Content Admin | ✓ | — | — | CMS Only | — |
Full Roles Reference
Troubleshooting
Common Issues
| Issue | Cause | Solution |
|---|---|---|
| User can’t see any workspaces | Not assigned to any workspace | Add user/group to workspaces in workspace settings |
| User can see workspace but can’t do anything | No role assigned | Assign a workspace role to the user or their group |
| User can’t add modules | Insufficient role | User needs Admin or Data Source Admin role |
| Can’t add users to workspace | Not a workspace Admin | Need Admin role on that workspace |
| Group changes not reflected | Caching | Refresh browser; changes may take a few minutes |
| Customer user sees other customers’ data | Added at wrong level | Remove from org level, add only at workspace level |
Permission Troubleshooting Flow
Best Practices
Create groups before onboarding customers
Create groups before onboarding customers
Use groups instead of individual user assignments
Use groups instead of individual user assignments
Document your group-to-role mappings
Document your group-to-role mappings
Keep customer users at the workspace level only
Keep customer users at the workspace level only
Use consistent naming conventions
Use consistent naming conventions
Audit permissions periodically
Audit permissions periodically
Test with a non-admin account
Test with a non-admin account
Onboarding Checklist
Use this checklist when onboarding a new customer workspace:Pre-Onboarding (One-Time Setup)
- Create standard organization groups (SOC Tier 1, Tier 2, etc.)
- Add your team members to appropriate groups
- Document group-to-role mappings
Per-Customer Onboarding
- Create/configure customer workspace
- Assign organization groups to workspace with appropriate roles
- Verify partner team can access the workspace
- Add customer users at workspace level (if needed)
- Create customer-specific groups (if needed)
- Test access with a non-admin account
- Document any customer-specific permission requirements
Frequently Asked Questions
Why are there two places to manage users?
Why are there two places to manage users?
Can a customer user see other customers' data?
Can a customer user see other customers' data?
What's the fastest way to give a new analyst access to all customers?
What's the fastest way to give a new analyst access to all customers?
Can I have different roles for the same user in different workspaces?
Can I have different roles for the same user in different workspaces?
What happens if I remove a user from a group?
What happens if I remove a user from a group?
Can customers manage their own users?
Can customers manage their own users?