

Who is this for? Organization Admins and security engineers connecting ContraForce to an external system. For the payload of each event, see the Webhook Event Reference.
Before you start
- You are signed in as an Organization Admin.
- You have an HTTPS endpoint that accepts
POSTrequests and answers with a2xxstatus within 30 seconds. Plain HTTP,localhost, and private network addresses are rejected. - You know how your endpoint expects to authenticate callers: no authentication, basic authentication, or a bearer token.
Choose an authentication type
Every delivery is signed with an HMAC-SHA256 signature in theX-CF-Signature header, whichever option you pick. The authentication type adds an Authorization header on top of that signature for endpoints that require one.
Create a webhook
1
Open the Developers tab
In the left navigation, click Settings, then select the Developers tab. The Integrations list shows your existing webhooks and service accounts.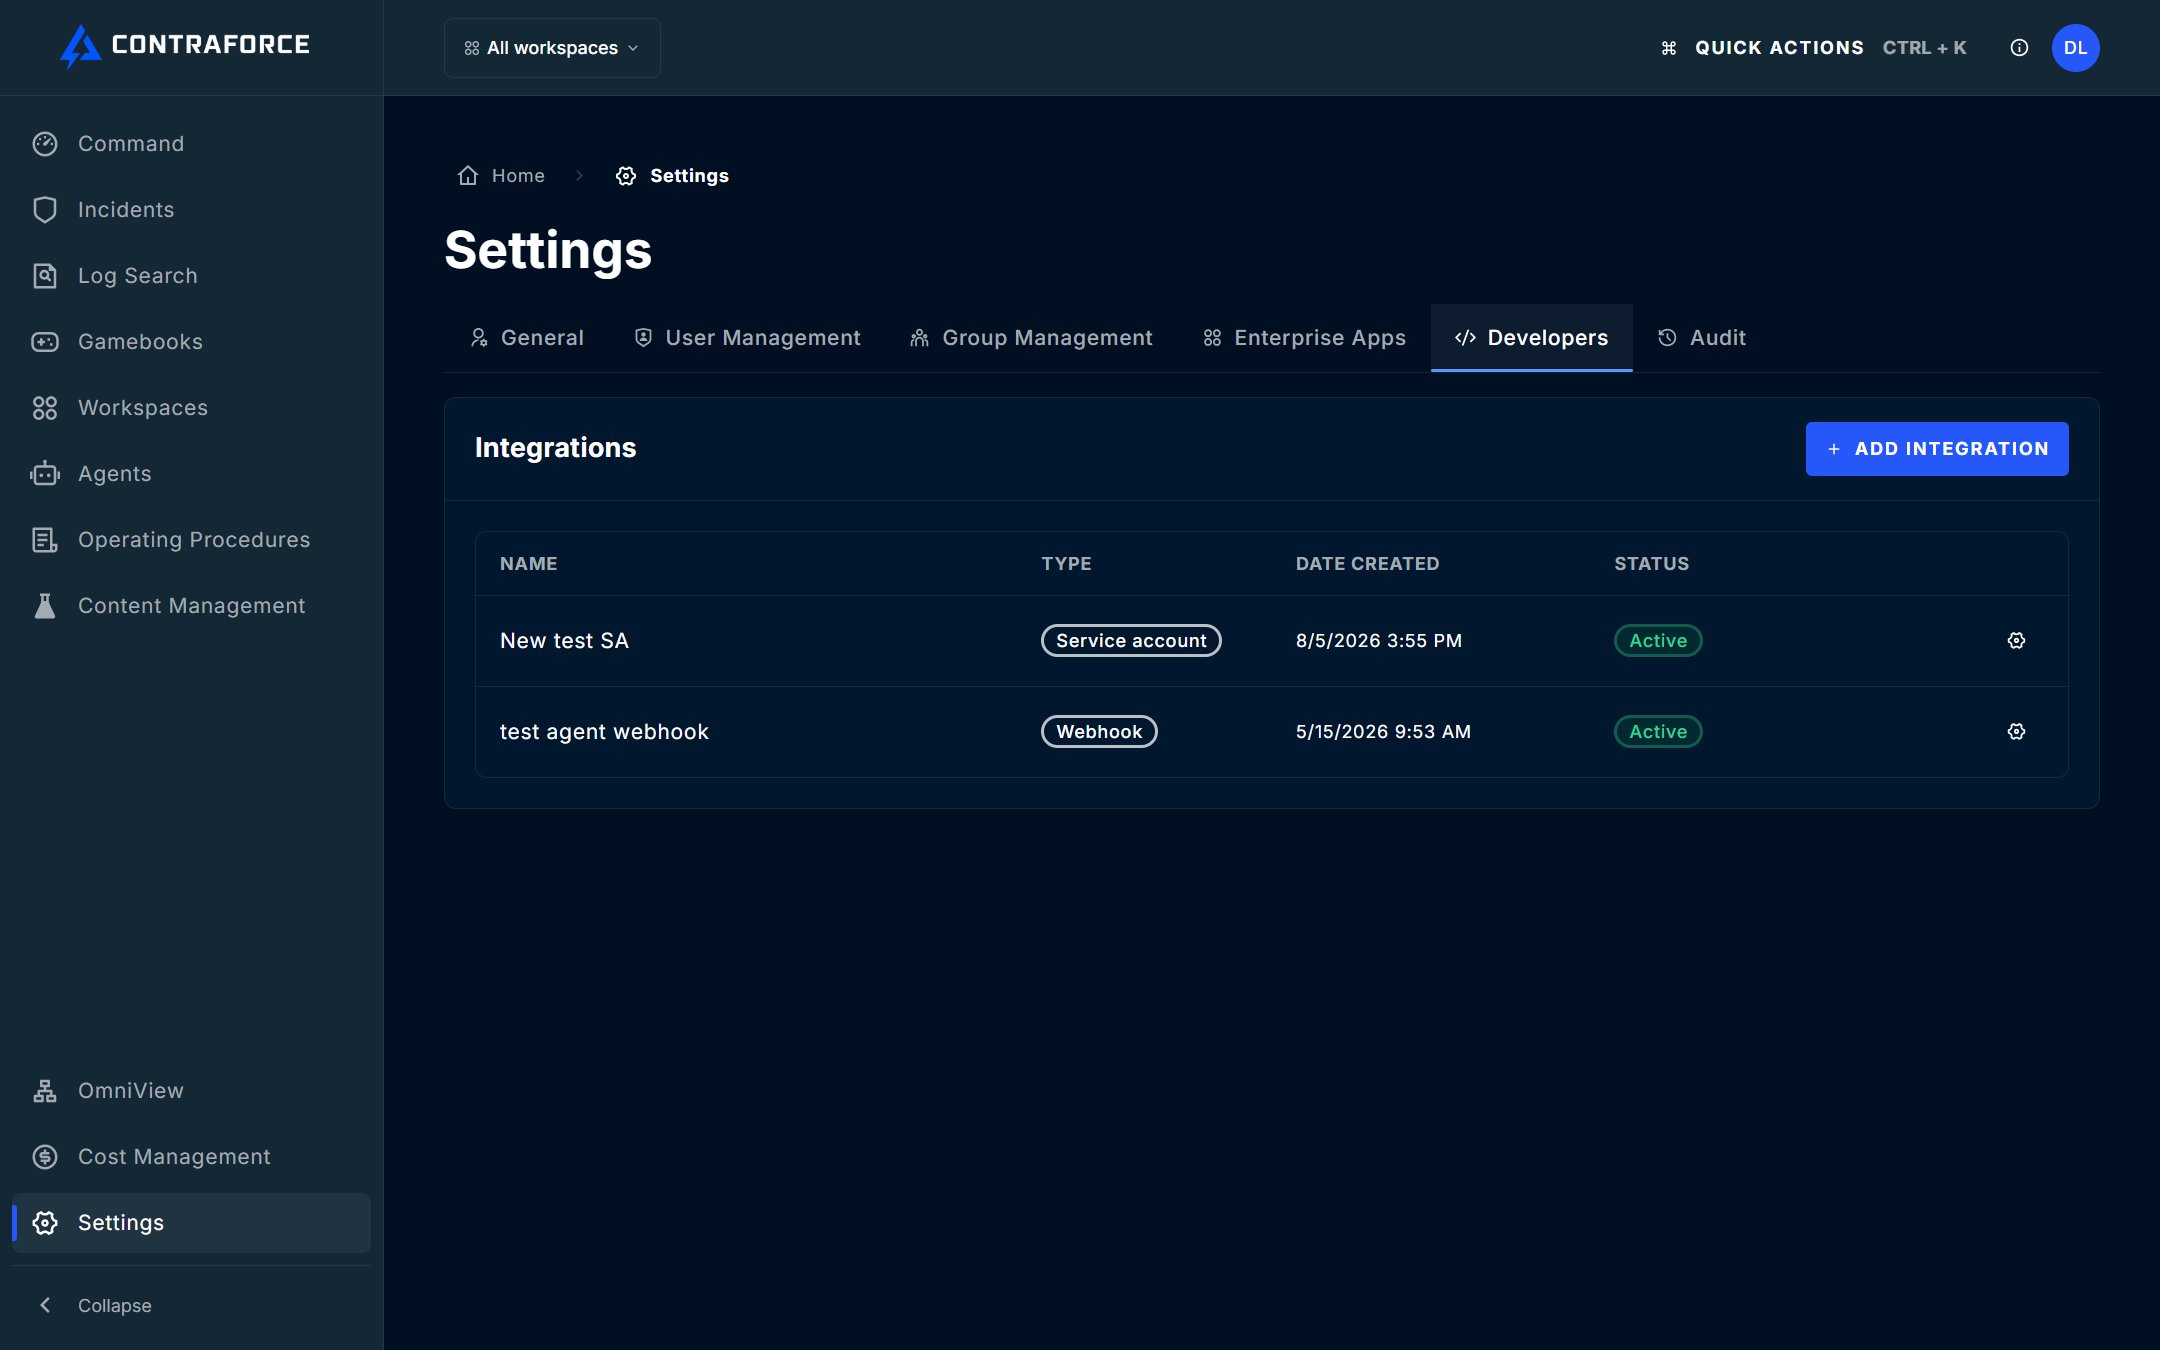
2
Start a new webhook integration
Click Add integration. In the panel that opens, open the Integration type list and select Webhook.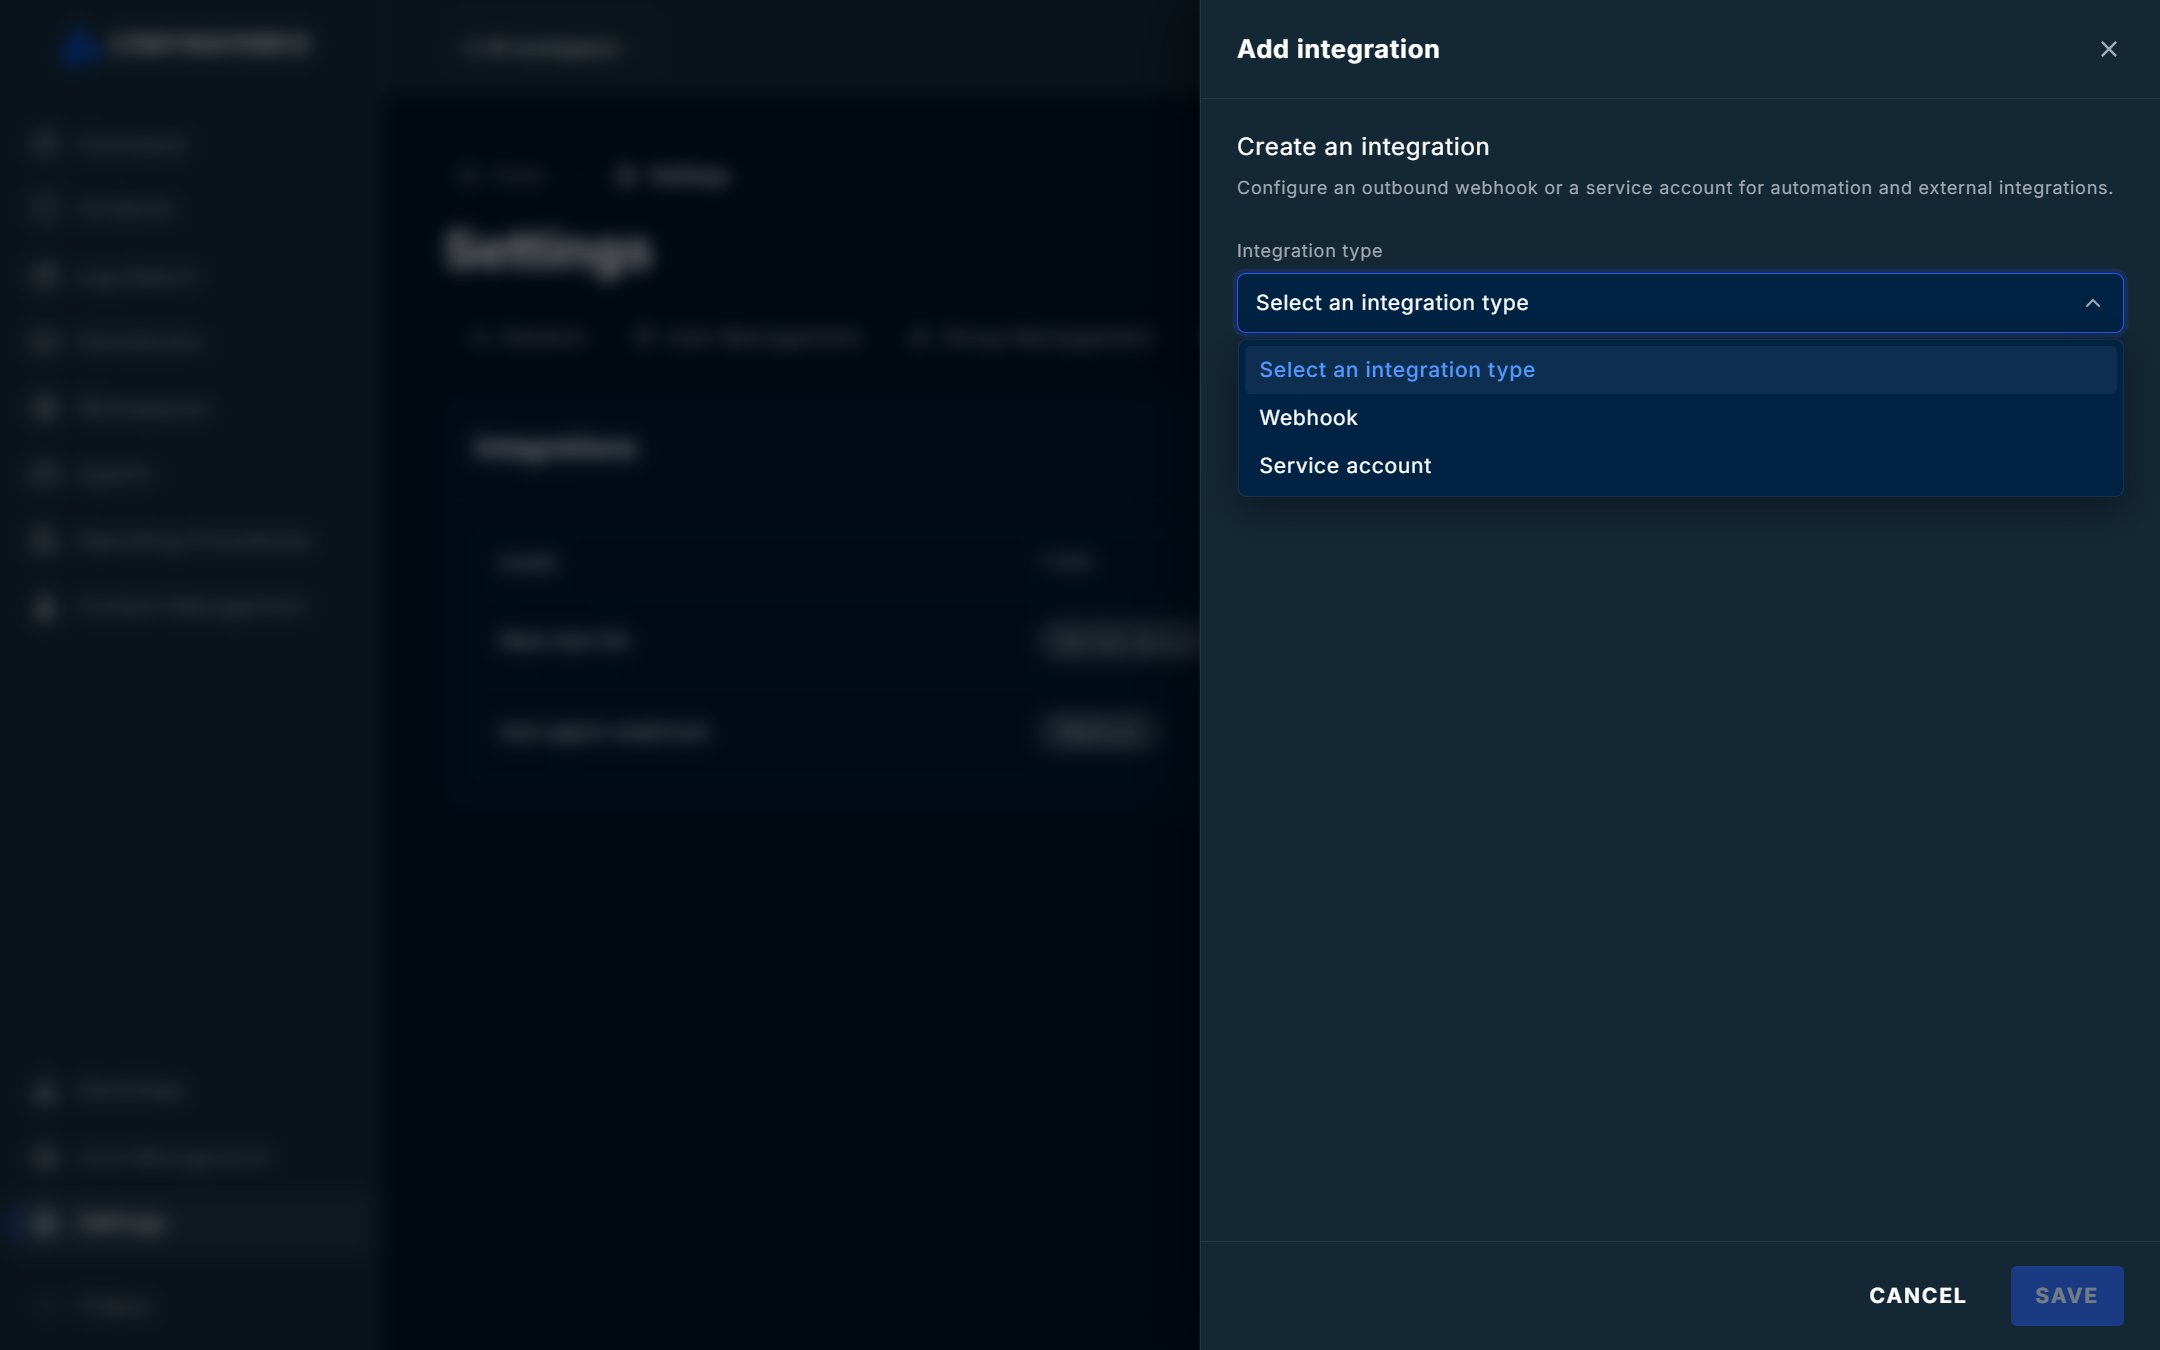
3
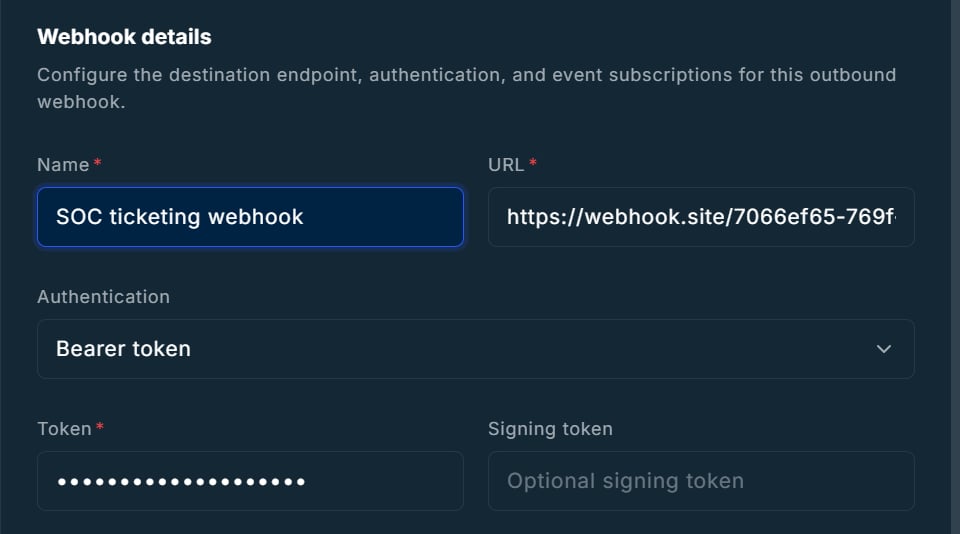
Name the webhook and enter the endpoint URL
Under Webhook details, enter a Name that tells your team where the events go (for example, 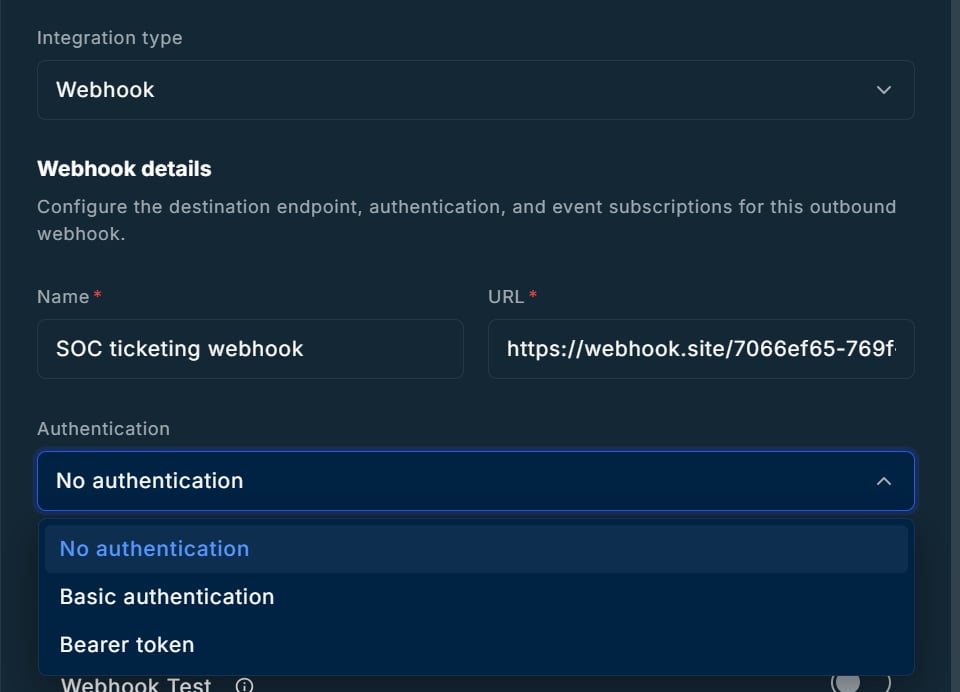
SOC ticketing webhook) and the URL of your endpoint, such as https://hooks.company.example/contraforce.Then open the Authentication list and choose the type your endpoint expects.4
Enter the credentials for your authentication type
What you fill in depends on the type you picked.
- No authentication
- Basic authentication
- Bearer token
Nothing else to enter. Verify the
X-CF-Signature header on your endpoint so it only accepts requests from ContraForce.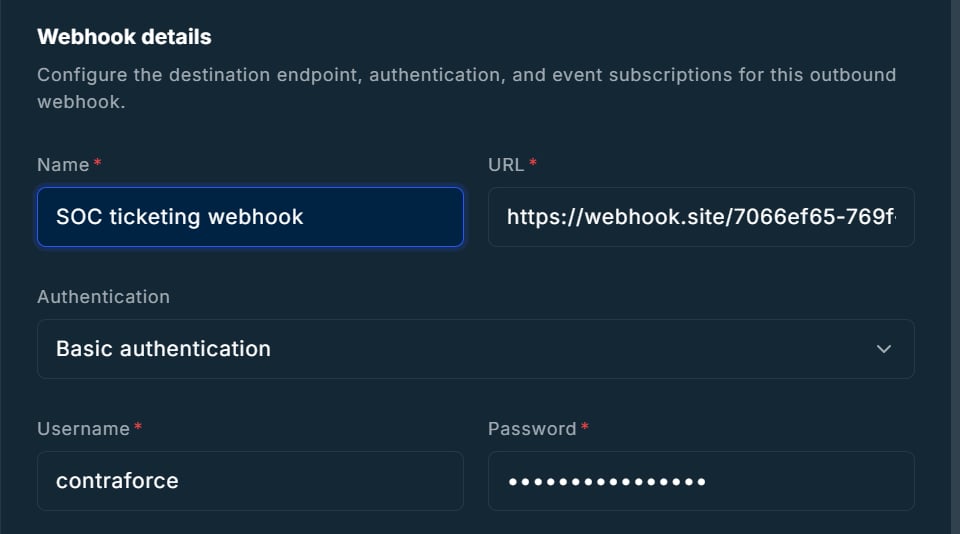
5
Select the events to send
Under Events, turn on each event this webhook should receive. At least one is required.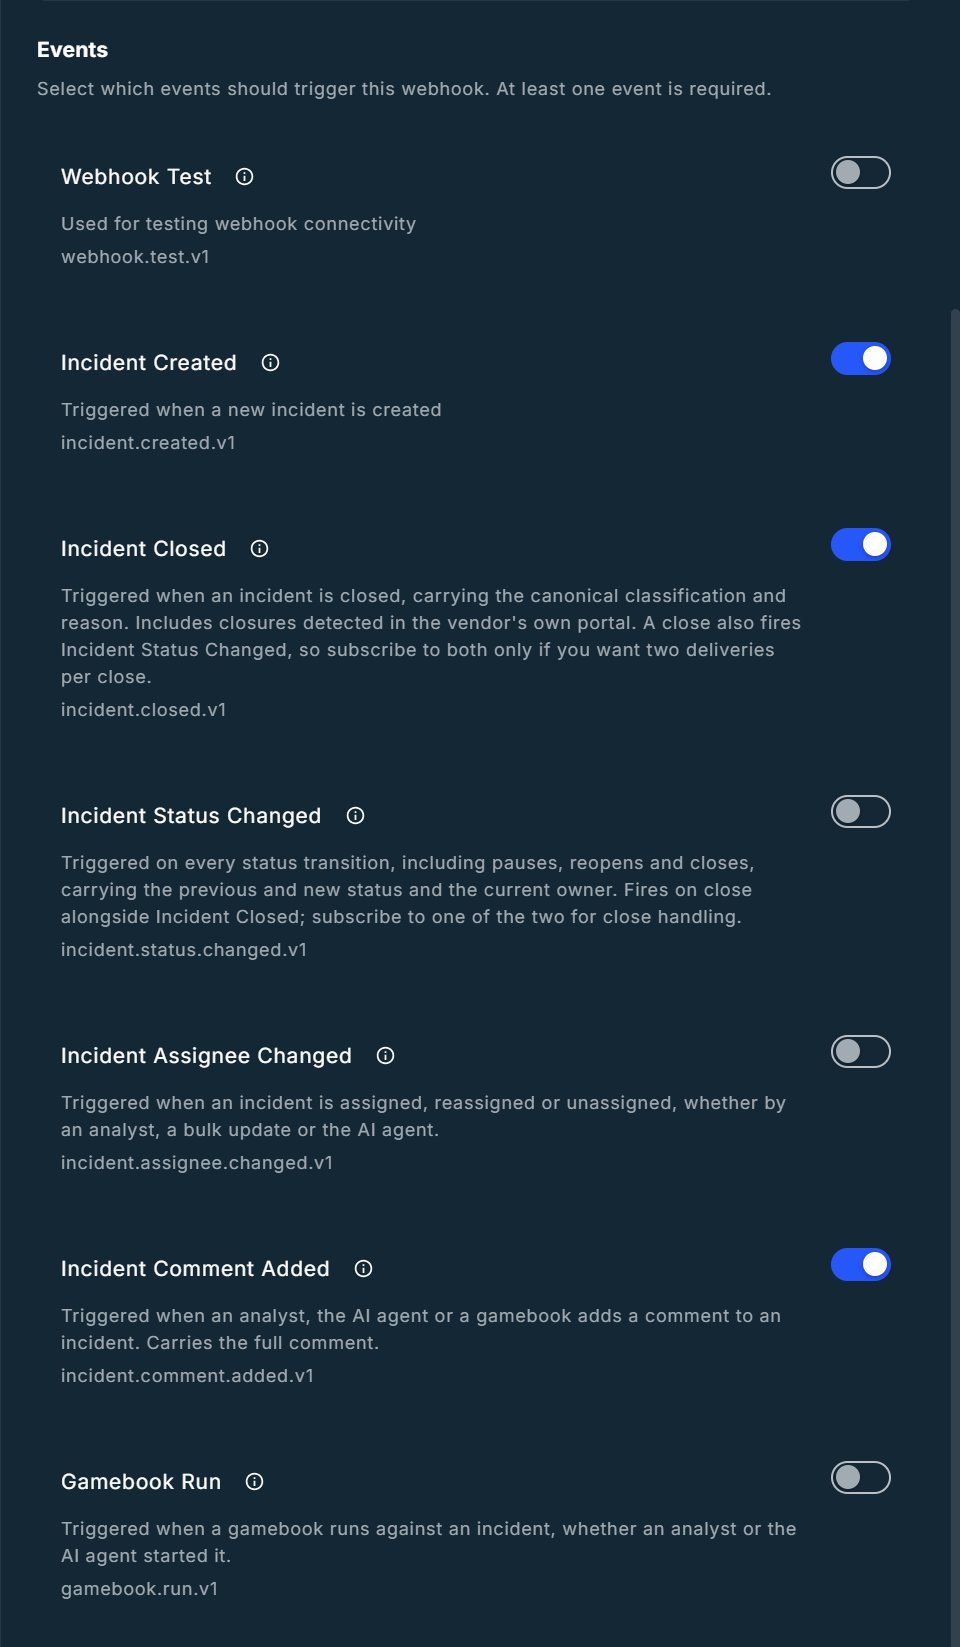
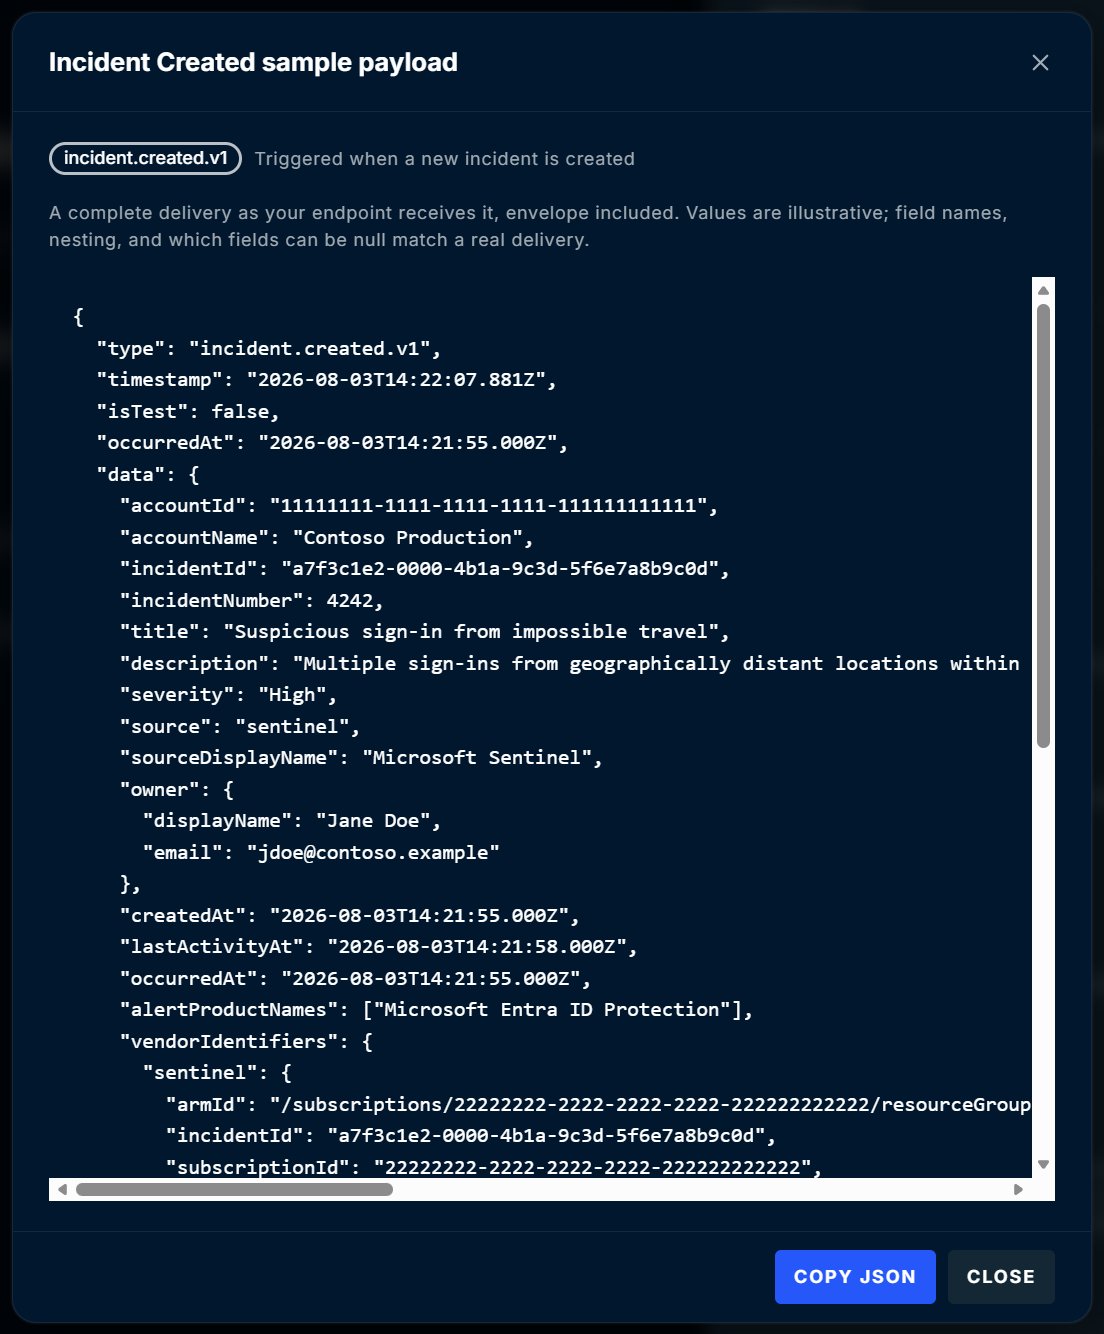
- Turn on Webhook Test if you want to use Send test later to check connectivity.
- For close handling, pick Incident Closed or Incident Status Changed. A close fires both, so subscribing to both gives you two deliveries per close.
6
Choose which workspaces the webhook covers
Under Workspaces, search for and add the customer workspaces this webhook should send events for. Leave the list empty to send events from all workspaces you manage, including ones you add later.The Agent investigation completed event is listed separately as Owned by another flow. You don’t subscribe to it here: it is wired from an agent’s classification card. See Send agent verdicts to a webhook.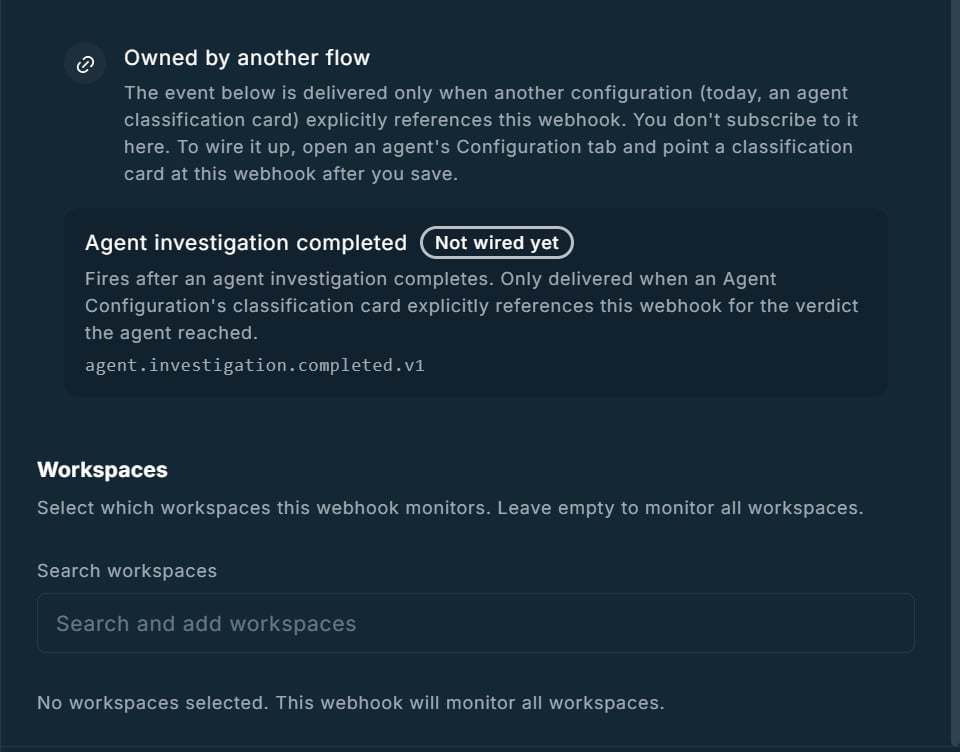
7
Save and copy the signing secret
Click Save. ContraForce shows the webhook’s signing secret once. Copy it with the copy button and store it in your endpoint’s secret store, then click Done.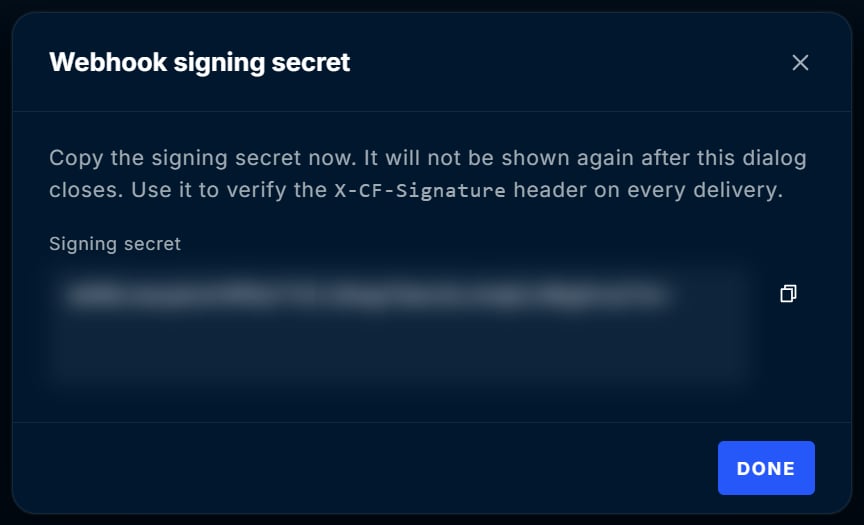
8
Confirm the webhook is active
The new webhook appears in the Integrations list with the Webhook type and an Active status.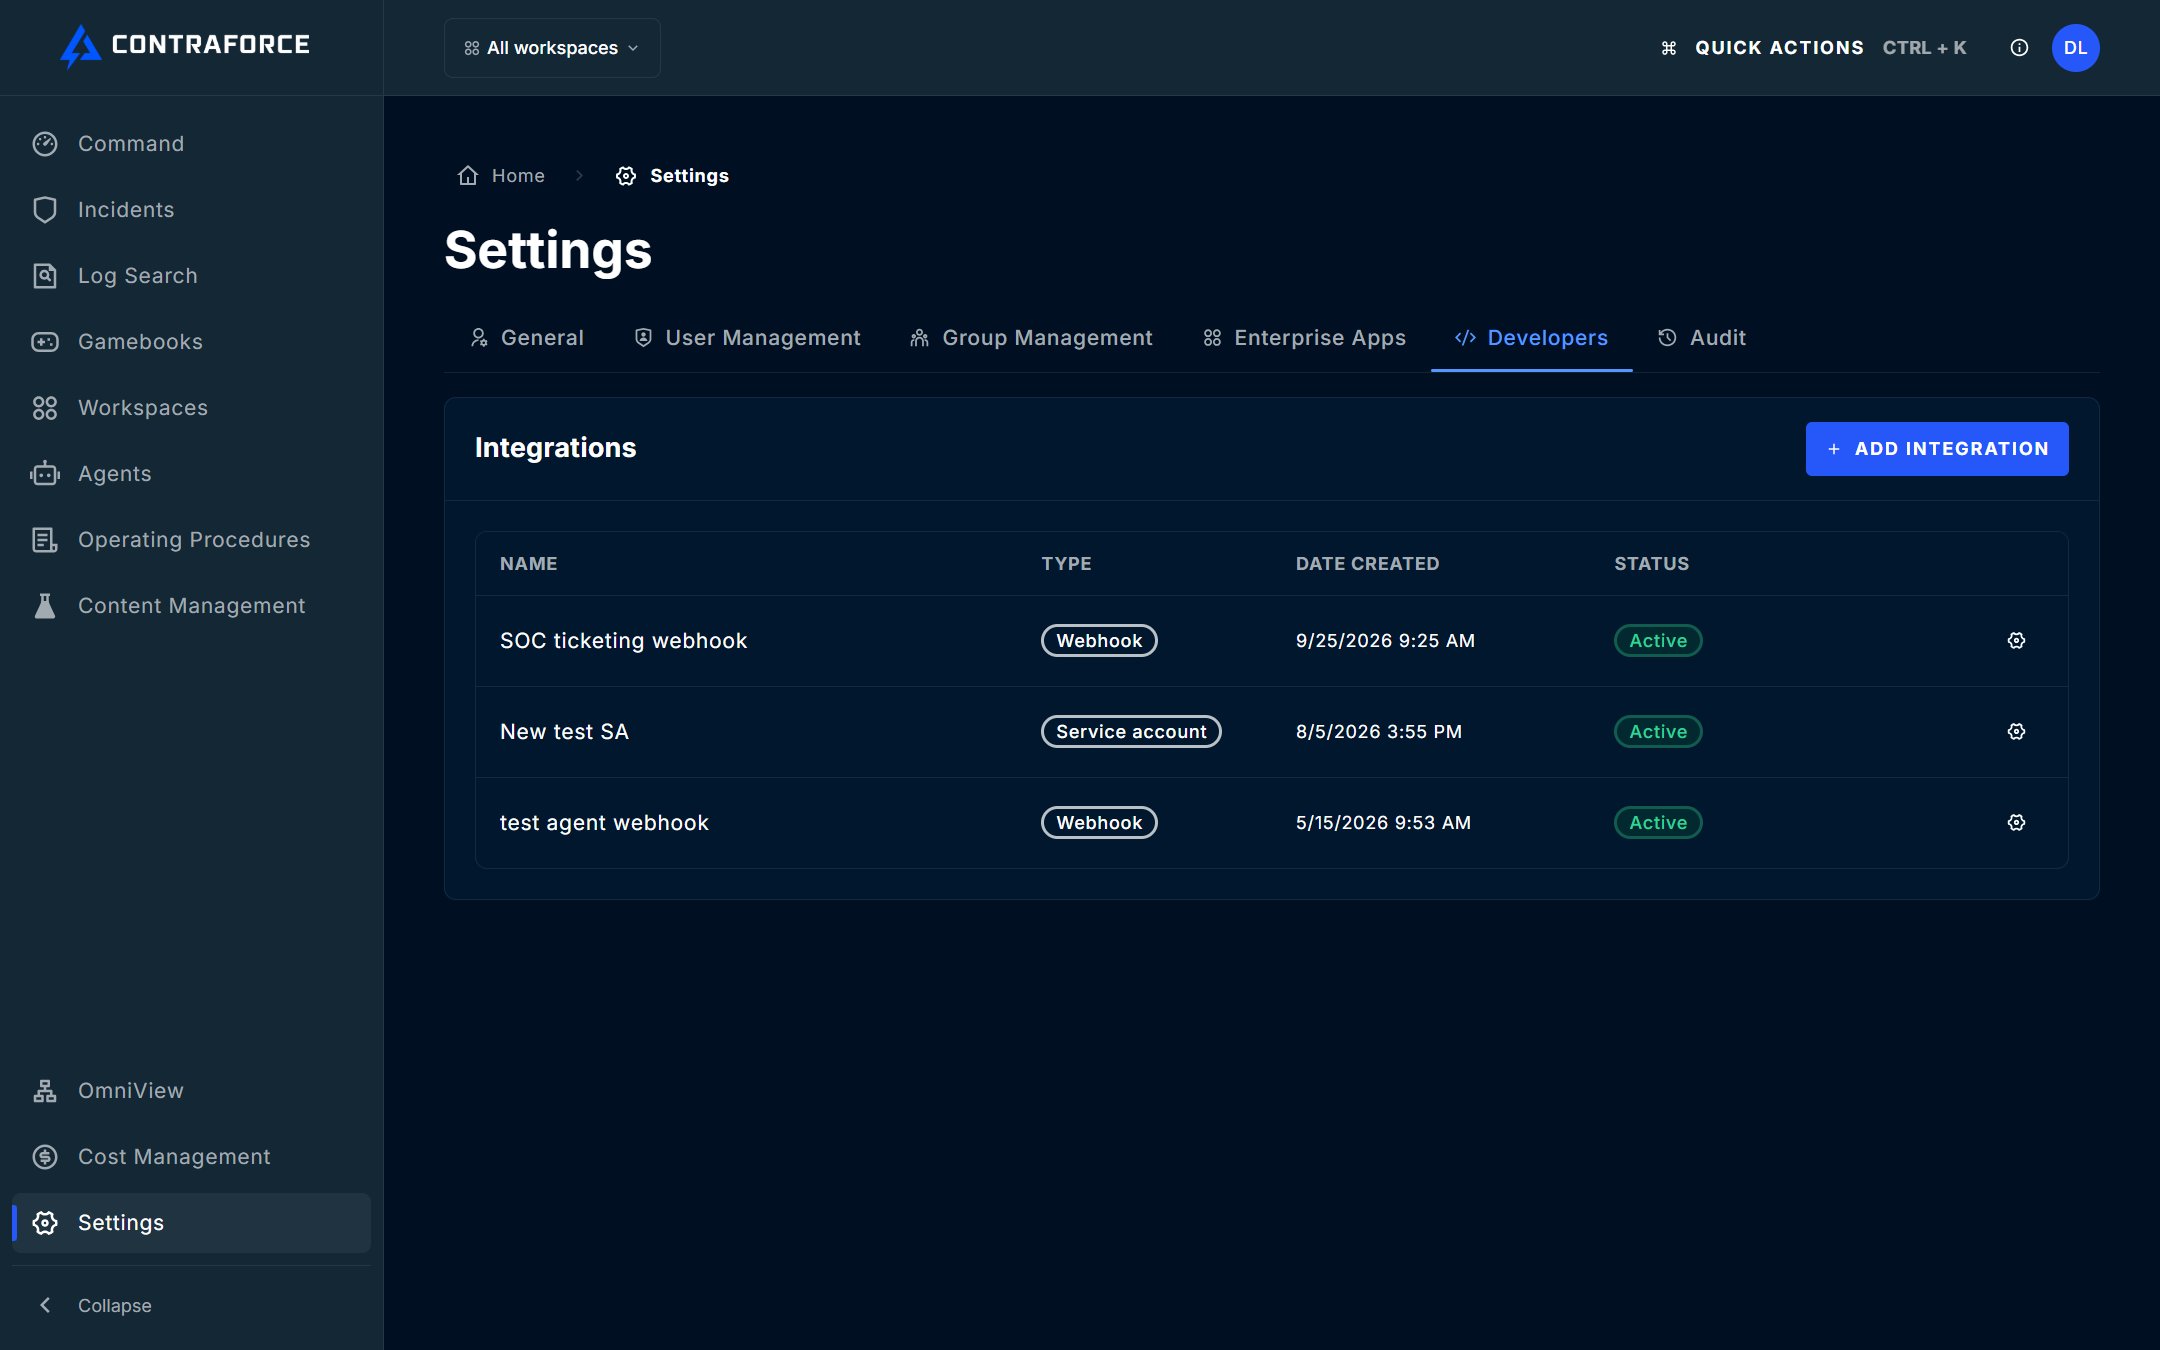
Send a test and check the delivery
Test before you rely on the webhook, and again any time you change the endpoint or its credentials.1
Open the webhook
In Settings → Developers, click the gear icon on the webhook’s row. The General tab shows the endpoint, authentication, signing secret, event subscriptions, and workspaces.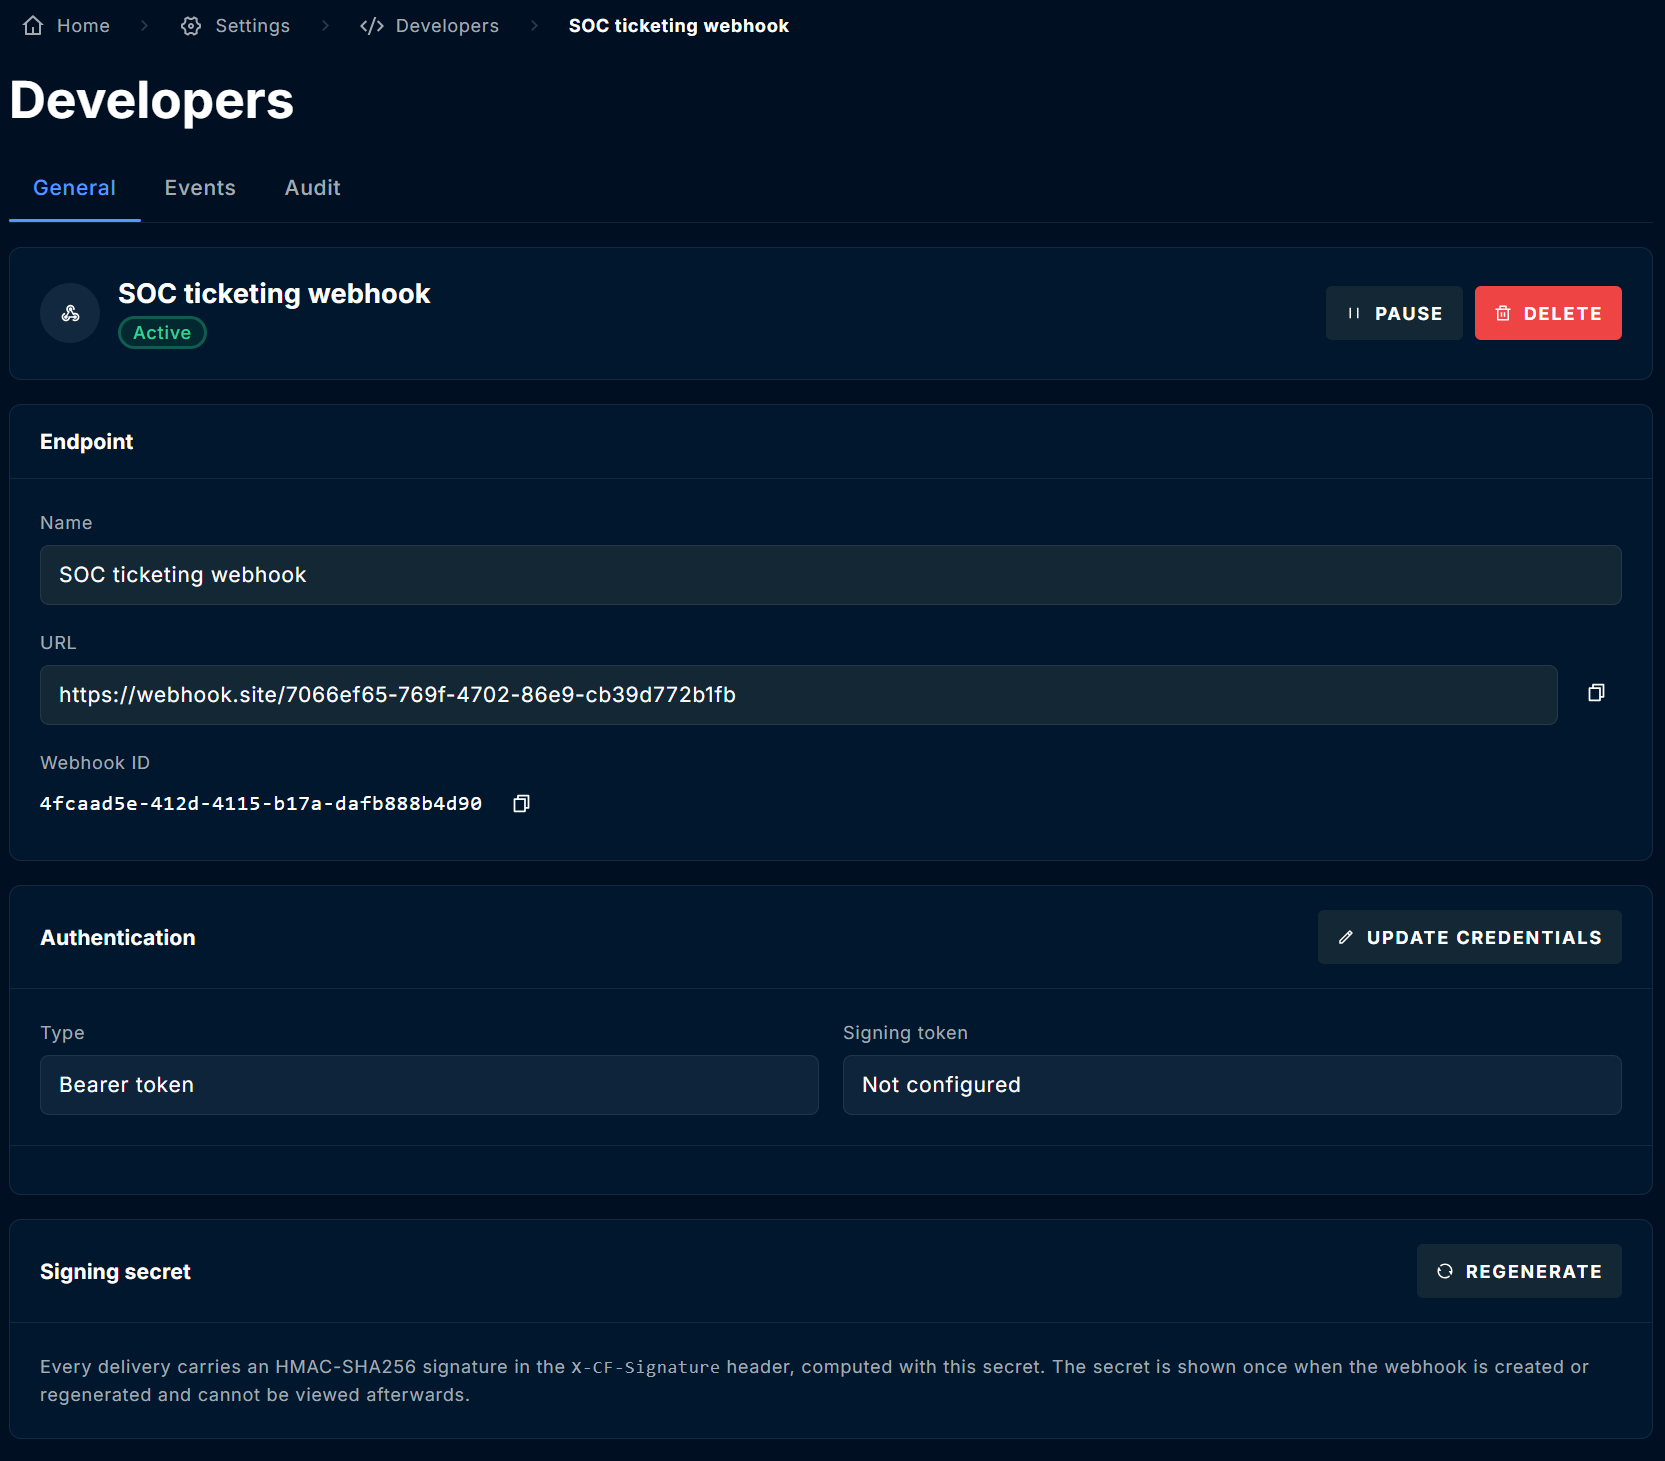
2
Send a test event
Under Event subscriptions, click Send test on the Webhook Test row. A Test webhook queued for delivery message confirms the request was queued.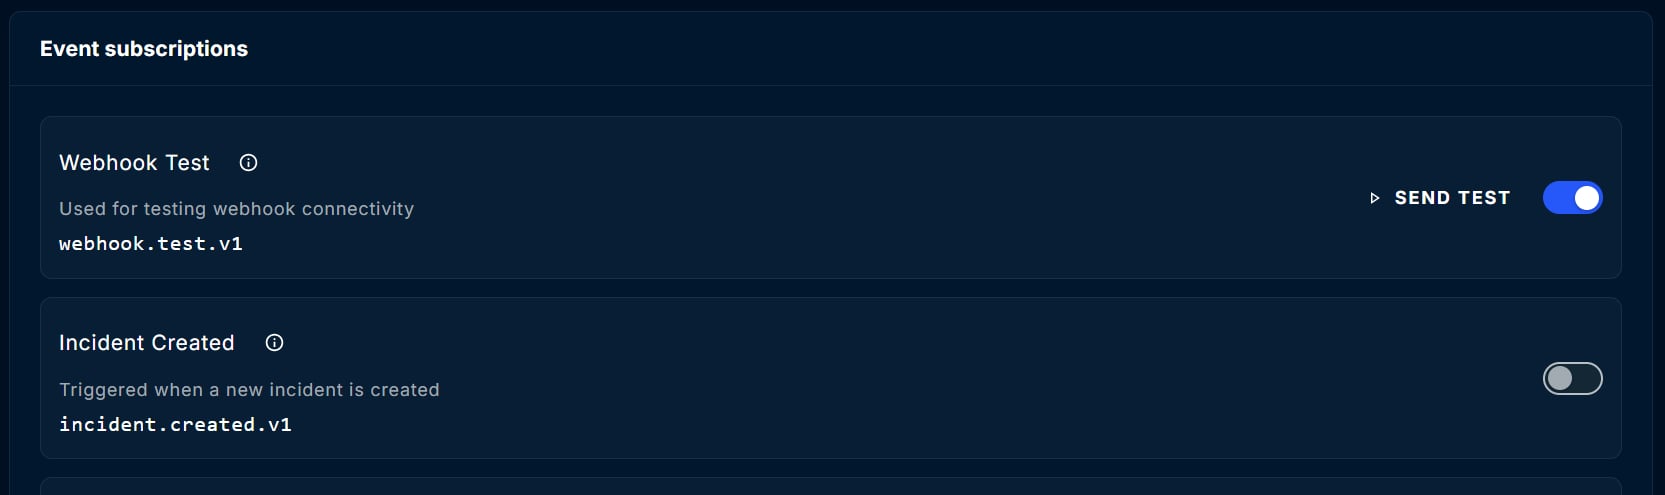
X-CF-Test: true header and "isTest": true in the body, so your endpoint can tell them apart from real events.3
Check the delivery log
Select the Events tab. Each delivery attempt is listed with its date, workspace, event type, and status. A test that reached your endpoint shows Success.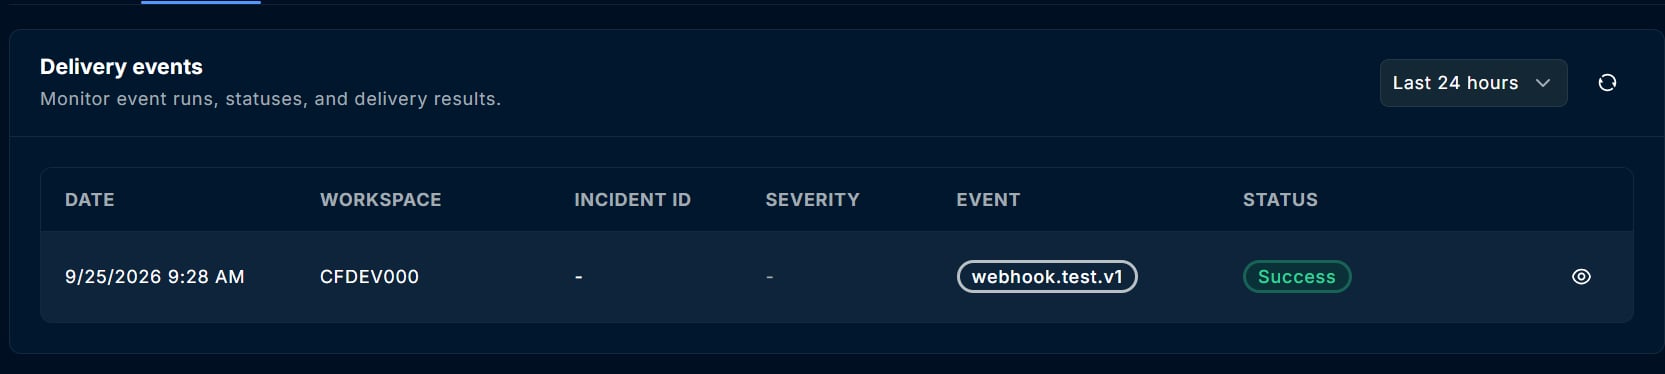
4
Inspect a delivery
Click the eye icon on a row to see the HTTP status code your endpoint returned, the latency, the attempt number, and any error message.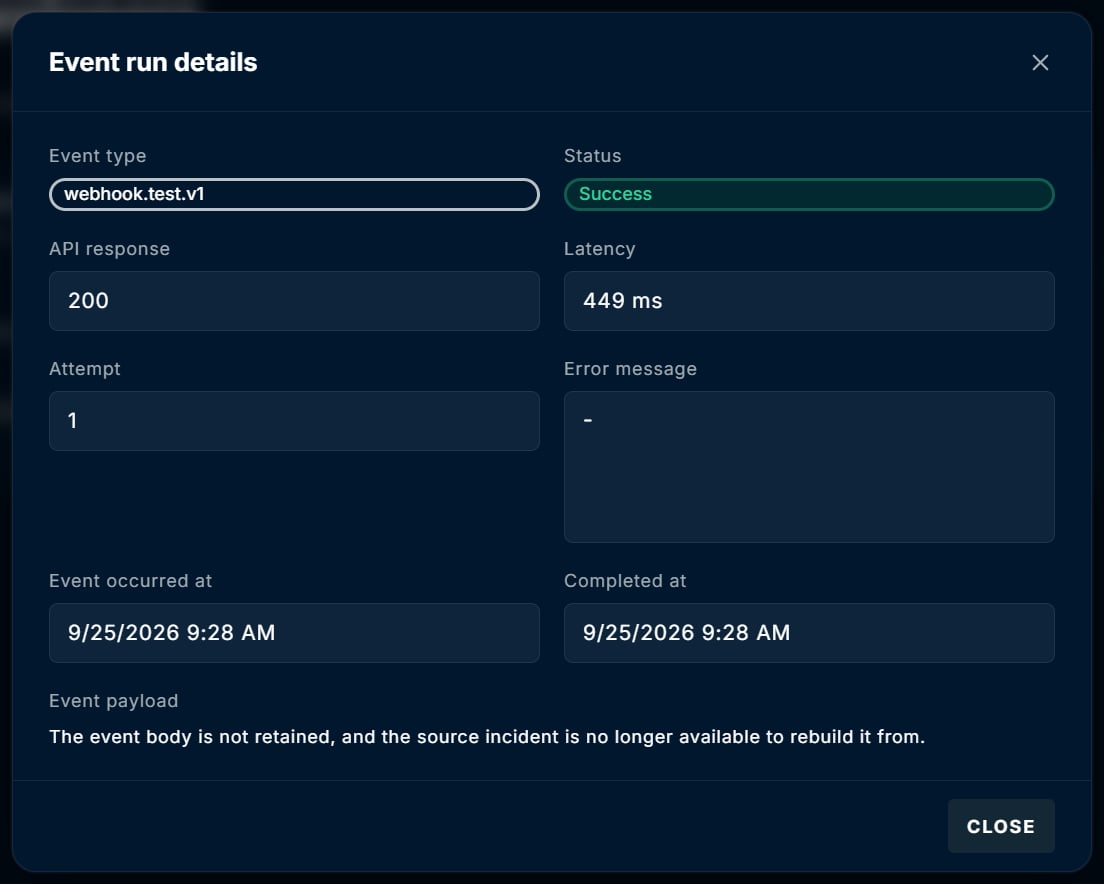
Manage an existing webhook
Everything below is on the webhook’s General tab unless noted.Send agent verdicts to a webhook
The Agent investigation completed event (agent.investigation.completed.v1) is not a subscription. It fires only when an agent’s classification card names this webhook as its custom action. You can create the webhook from the card itself, and it is subscribed to the event automatically when you save.
See Configuring Security Delivery Agents to set it up, and Agent Investigation Completed Webhook for the payload.
Troubleshooting
Related guides
Webhook Event Reference
Every event type, the delivery envelope, headers, retries, and signature verification.
Agent Investigation Completed Webhook
Receive and verify agent verdicts from a classification card.
Service Accounts
Call the ContraForce API from your automation.
Incident Classification
The classifications and reasons carried on closed incidents.
Need help? Contact support@contraforce.com.